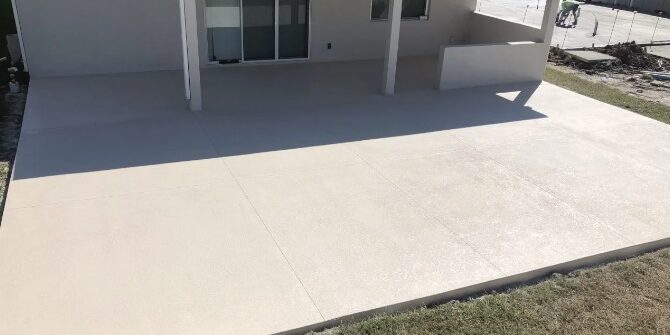
What is the procedure for terrace concreting?
What preparations are necessary, and what is the layering procedure during concrete pouring for the terrace?
We will find the answers to these questions and many more. We will show you the most common pitfalls and how you can avoid them.
The terrace is a place for enjoyable activities, such as lounging with a beer or spritzer in hand, showcasing our grilling skills 😃, and feeding hungry family and friends.
From incredibly simple and practical solutions to more intricate and ornate variations, one thing is often common among them: frequent use. Therefore, we would like them to be durable and beautiful.
Moreover, it can significantly expand the footprint of our house.
We won’t showcase various beautifully furnished terraces or provide blueprints. What you can learn here is valuable information regarding the execution of a concrete terrace:
- What should we do before we start?
- What tools and materials will we need?
- How is the layer structure built up?
- What are the steps involved in the concrete pouring process for the terrace?
With this article, we aim not only to assist those who are doing the terrace concrete work themselves, but also…
for those who hire a contractor. Nowadays, things don’t work the way of coming up with an idea, finding an expert, explaining it to them, they flawlessly execute it, I pay, and everyone is happy.
If you want a perfect solution from the start, it doesn’t hurt to be aware of these things, whether you do it yourself or have it done. You’ll know what to expect: how much work it will involve and what costs you should anticipate.
Before pouring the terrace concrete, the most crucial task is planning
Let’s examine which part of the house would be the best location. Do we want to have direct access from the house to the terrace, or should we place it a bit further away? In the latter case, we can even call it a pergola, but it doesn’t change the way it’s constructed.
We can only build a terrace on a sufficiently stable ground.
Decide on its shape, the number of people it should accommodate, and the activities it will be used for. Do we want it to be covered, or will it be uncovered with the use of mobile shades?
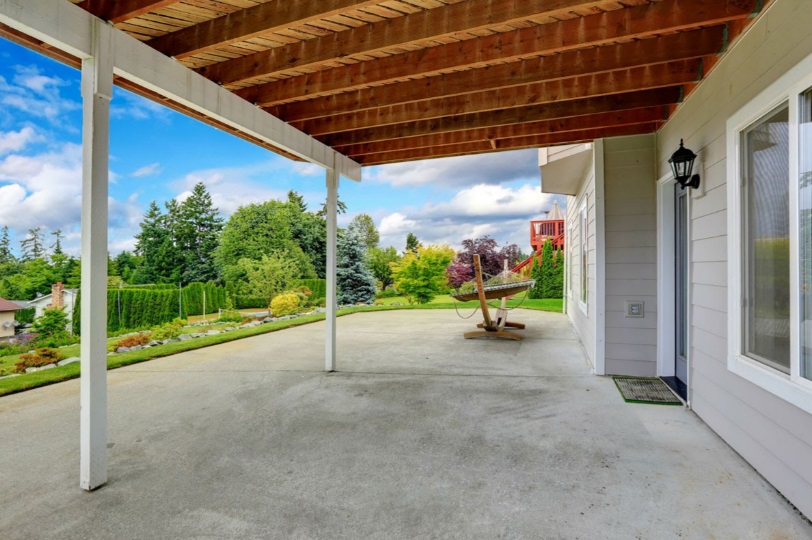
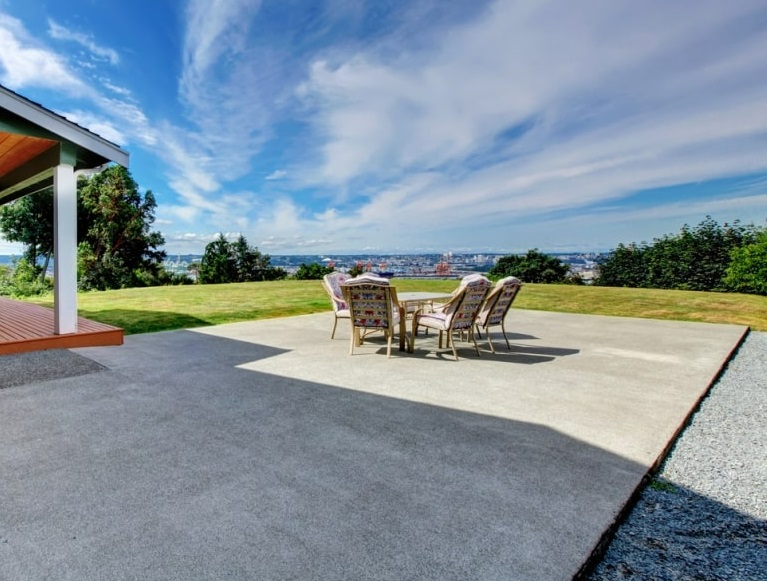
Once we are done with this, let’s plan the terrace at least in broad strokes:
- Create a to-scale top-down drawing,
- and a layering plan.
Planning is crucial to ensure that the final result, the top surface of the terrace, ends up where we want it. If it’s right next to the house, then its final level should be slightly below the terrace door. If the terrain requires it, you may need to build stairs to access the terrace from the house.
Creating the layering plan is essential so that you know where to start (and how far down to go) to reach the desired outcome.
You might need the following tools and materials for terrace concrete work:
- String level to determine the height of each level.
- Spirit level.
- Measuring tape.
- Pencil.
- Boards for formwork.
- Saw.
- Nails.
- Shovel.
- Bucket.
- Mason’s trowel.
- Wheelbarrow.
- Crushed stone or gravel for the foundation.
- Screed board.
- Concrete vibrator (and possibly a plate compactor).
- Concrete mixer, or ready-mix concrete if possible.
- In the case of mixing concrete at home: cement, gravel, and water.
- If you want durable and easily workable concrete, consider Vip-Rex SF superplasticizer to reduce water content.
- Reinforcing mesh or, alternatively, ArmoTec structural macro fibers to replace the mesh.
- Smoothing strip to level and shape the concrete surface.
- Optionally, a good concrete float.
- Polyethylene sheeting to cover the concrete once finished.
Layering of Terrace Concrete
The foundation of our terrace can be a strip foundation, which is a 20-25 cm wide, approximately 80 cm deep concrete foundation along the edge of the future terrace. However, in most cases, it is sufficient to create a base for the future terrace concrete slab, also known as a bedding or mirror. This is a layer of crushed stone, ideally 15-20 cm thick and consisting of various grain sizes, compacted using a plate vibrator or a compaction rammer according to the soil conditions.
The concrete is poured onto the properly compacted and ideally smooth base, which should be at least 10 cm thick and preferably made of C20-25 strength concrete.
If you intend to use adhesive flooring, it is essential to provide insulation and also apply a base concrete layer to prevent the stone from delaminating from the surface later on.
The surface of the terrace should be designed with a slope. The slope should be at least 1.5%, but 2% is recommended for optimal drainage.”
If you are not planning to cover it, it is advisable to protect the terrace with some form of sealant to minimize moisture absorption. Whether it’s a concrete paint or a durable sealer, either can do the job. If you use Vip-Rex SF superplasticizer, not only will the application of the concrete be easier, but also the compaction, resulting in a frost-resistant and reasonably waterproof concrete structure.
The workflow during terrace concreting involves the following processes
After designating the location of the terrace, let’s clean the area. Start excavating the bedding to a depth that allows the final level of the terrace concrete to be in the right position during backfilling.
Commence filling the bedding. If possible, perform this in two layers and compact each layer thoroughly.
Once the bedding is prepared, and if you have opted for reinforcing steel alongside, it’s time to place it. Choosing a 4 mm mesh with a 150×150 spacing makes no sense, and it is impractical for walking on during concreting. Properly reinforce your concrete with 5 or 6 mm space mesh at a 100×100 spacing. After placing the mesh, it should be raised a few centimeters to allow it to be submerged under the concrete.
If you want to avoid dealing with reinforcing mesh, a much simpler solution is to use structural macro fibers. With the appropriate dosage, not only can it replace the reinforcing steel mesh, but it can also make the terrace concreting much simpler and more cost-effective. Moreover, the end result will be a significantly more durable terrace, reinforced at every point in three dimensions with concrete.

We need to construct formwork to prevent the concrete from flowing away. The formwork will determine the final size and shape of our terrace, and we can align the top of the formwork with the upper plane of the terrace.
Now, it’s time for the concrete. Strive to use a moderate amount of water in the concrete mix. The water quantity can be reduced by half by adding Vip-Rex SF superplasticizer. This way, we achieve a very workable and frost-resistant concrete. Overwatering leads to cracking. No amount of steel or concrete reinforcement can prevent cracking if we overwater the concrete.
Compact the concrete using a needle vibrator.
Don’t forget to create the surface slope, as mentioned earlier.
When we finish the terrace concreting, we haven’t completed the job yet
The aftercare of the concrete is crucial. If the surface has set enough that it doesn’t stick to plastic sheeting, cover it. This protects it from potential rain and prevents drying, which can lead to concrete burning and complete ruin. This requires particular attention, especially in hot weather. Ensure an adequate water supply, possibly multiple times a day, for 8-10 days. Sprinkling the concrete should not be done with a hose but rather by flooding the surface. If concreting in cold conditions, focus on protecting the concrete surface.
The formwork can be dismantled after a few days. If fiber reinforcement was used, there’s no need to worry about the edges breaking, and it will be much easier to drill into any possible supporting columns. Fear of drilling into the steel reinforcement and possibly breaking the drill bit is not a concern.
Unstable Ground
The ground may undergo post-compaction or minimal movement for various reasons. In such cases, your terrace will move along with it. Therefore, in areas situated on potentially variable-volume clay soil or where movement can be anticipated for other reasons, foundation work needs to be carried out in a more sophisticated manner. The same applies to areas filled with soil or terraces built on sloping or inclined ground. It is highly recommended to have these areas inspected by a qualified architect and to plan the construction in consultation with them.
